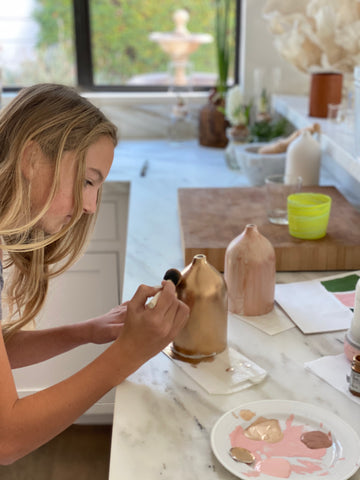
We have been toying with the idea of introducing a new color option to our ceramic diffuser collection so we started playing with some fun color stories.
We loved them so much we thought we should share this inspiring little project with you! This DIY diffuser project takes zero crafting experience and is fun for all ages. In fact, my 12 year-old daughter Lauren did all the painting for the sample line photographed.

MATERIALS
- Diffuser
- Acrylic Paint or Gilding Paint. We tested a couple of different gilding paints and hands down the Martha Stewart Gilded Paint received the gold star!
- Sponge Round Dapple Brush
- Painters palette-disposable plate, cardboard anything to put you paint on.
- Wax paper

INSTRUCTIONS (Steps)
- Put down some wax paper as your drop cloth so you don’t get paint on your counter or table.
- Clean your diffuser outer housing and let it dry.
- Pour paint onto your palette.
- Take dapple sponge brush and tap in into the paint and start to press like a stamp onto the surface of the diffuser. Do not use brush strokes. Try to put on a light coat. Apply light gentle presses. Don’t worry if the coat is uneven, this is like painting your nails, the second coat will be magical. We used the same technique for all three colors. You could also try spray painting and follow the best practices for anti-mess making!
- Let it cure for 24 hours before diffusing with water and essential oils.
- Enjoy your work of art!
Be inspired, be creative and be sure to share your creations with us and tag us so we can share!


